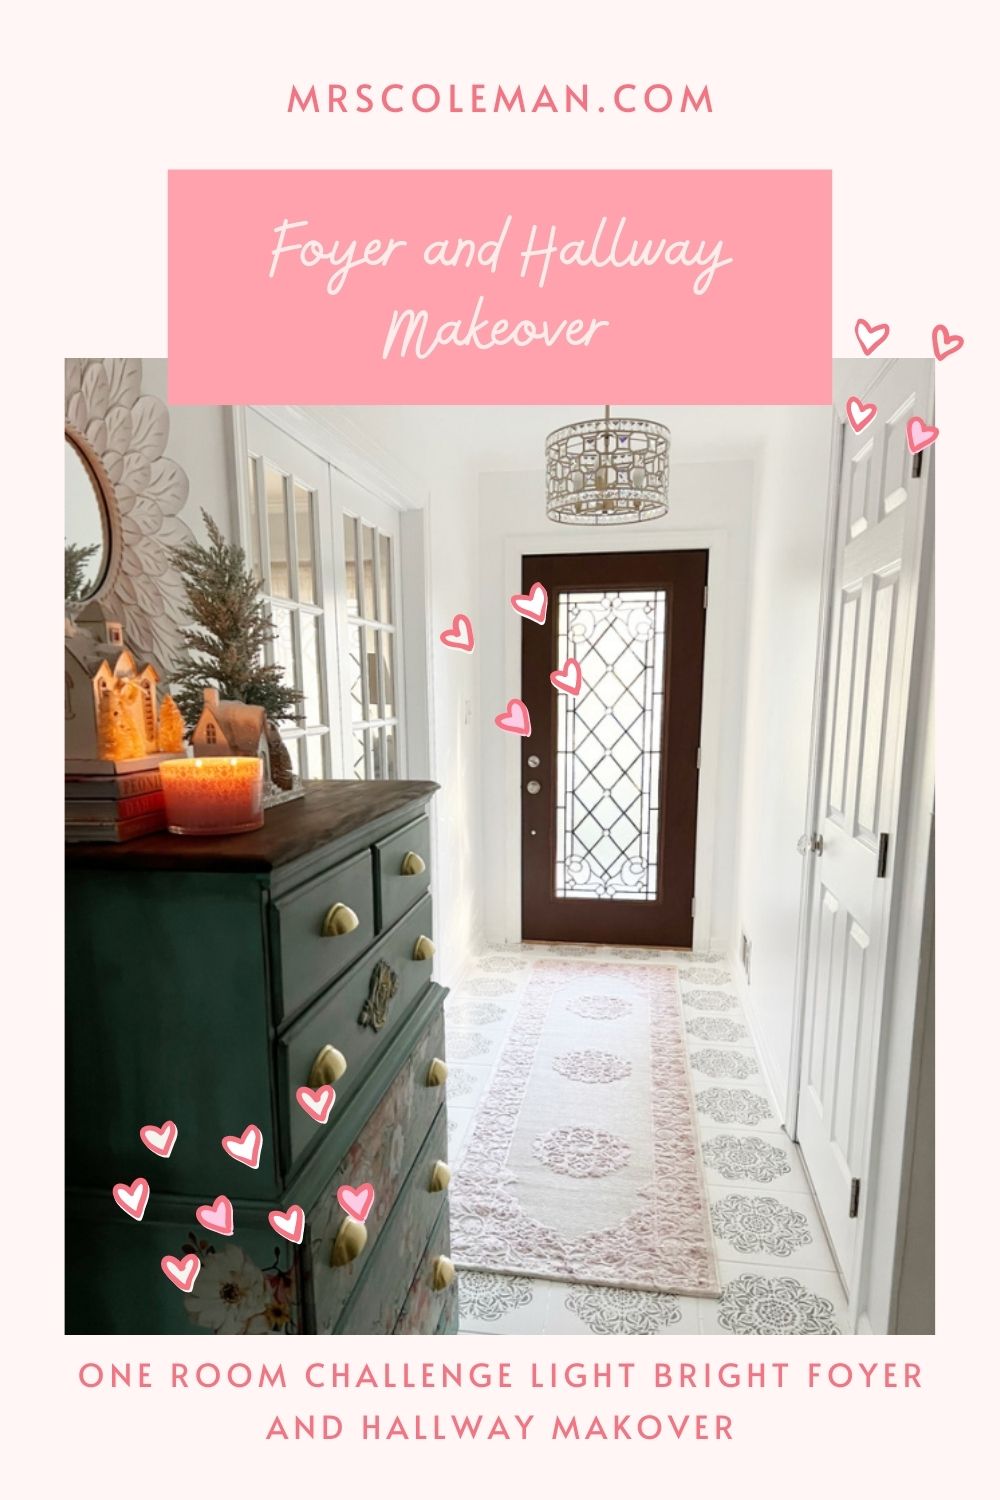
Let’s do a foyer and hallway makeover with One Room Challenge.

This post may contain affiliate links from Amazon and Others. As an Amazon Associate I earn from qualifying purchases. See full disclosure here.
If you are new to the One Room Challenge, you may check it out here.
I chose this project because I thought it would be fast and easy.
I guess it really was.
Life happened and it was several weeks into the challenge before I did anything. That’s the reason for no weekly posts.
This project was completed start to finish in two weeks.
Really just a few days, since the work could only be done on my days off work.
Almost forgot to take before photos…
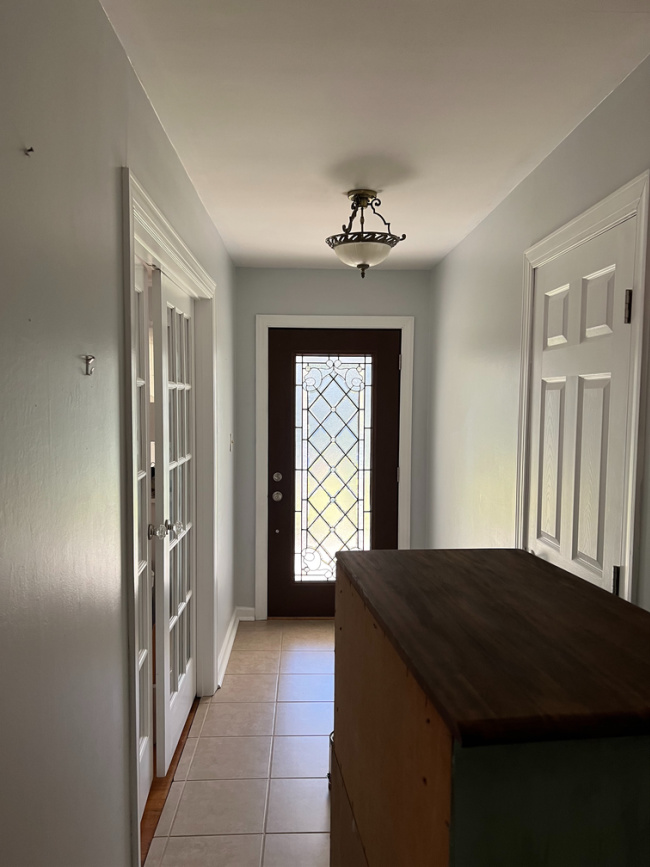
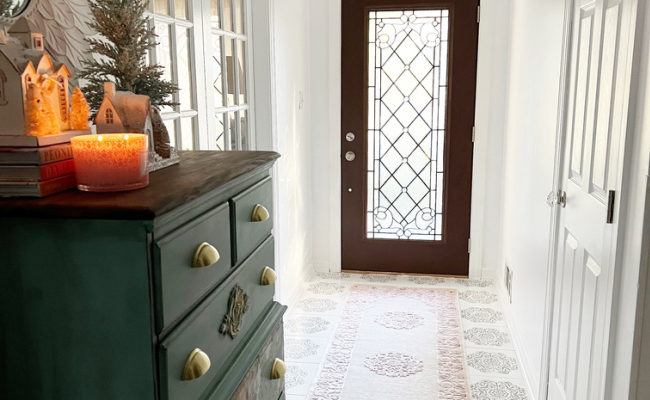
It is so much brighter now!
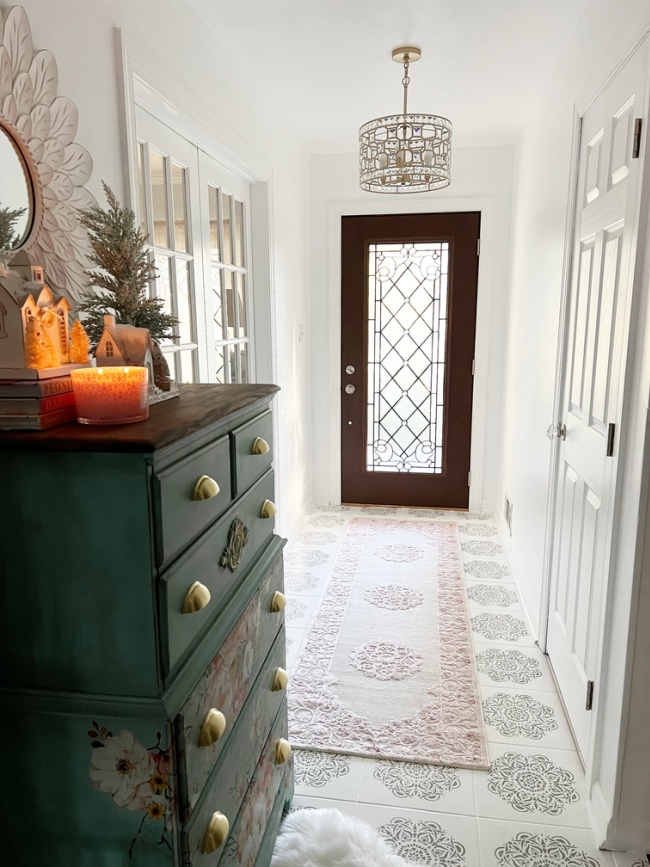
You have probably noticed I usually start every project the same way.
I come up with a vague idea of what I want to do.
Next, I gather everything I think I will need.
Then I think about it for a LONG time.
Shop The Post
I’m also a big list maker, so I have a list of each project that needs to be completed.
Okay, Let’s Get Going
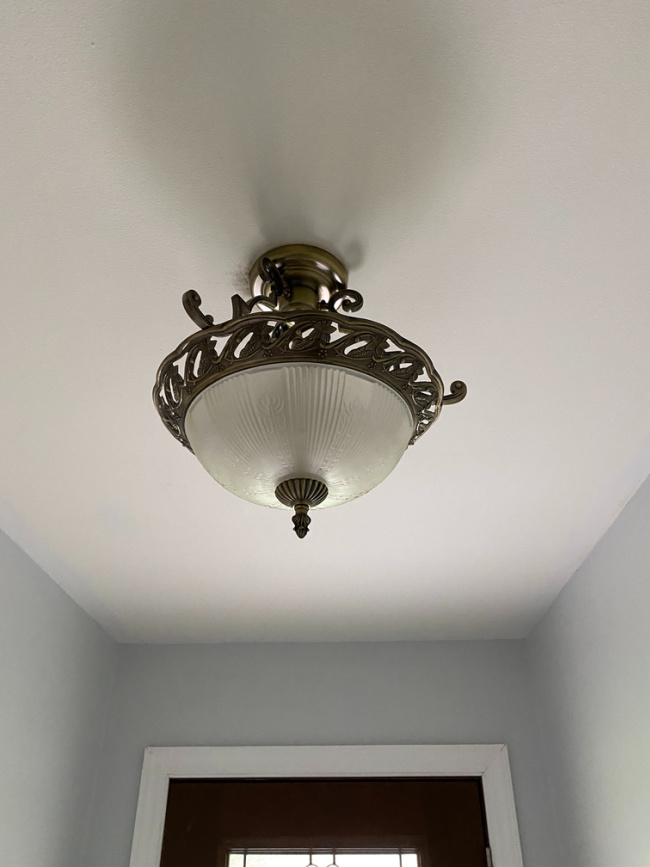
Deep cleaned the foyer and hallway from ceiling to floor and took the old light fixtures down.
Then thought about having a garage sale while putting the old light fixtures in the garage with all the other junk that needs to be sold or donated.
Also, thought about a garage makeover after said garage sale.
See how time gets wasted? 🙂
Up next was to paint. My recent procedure is to paint the ceiling, walls, and baseboards all the same color. It goes so much faster and I think it looks so fresh and clean.
Then it was time for the new light fixtures.
Before hall….
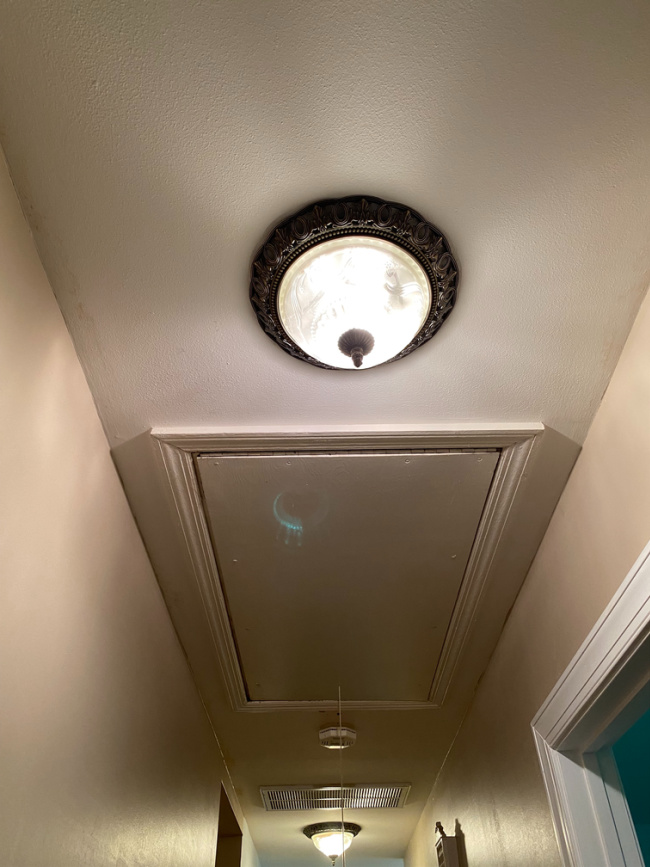
After…
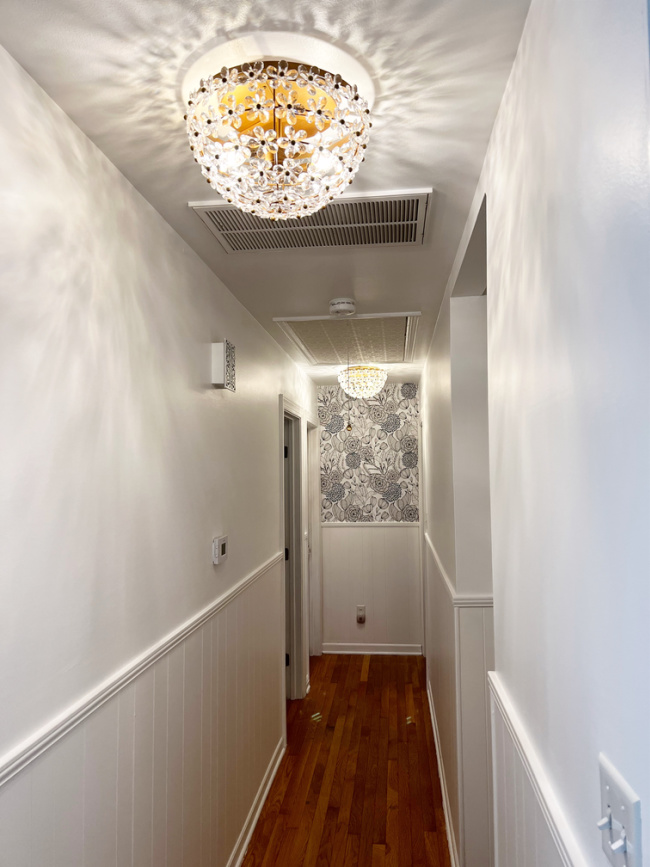
Before foyer…..
And after foyer…
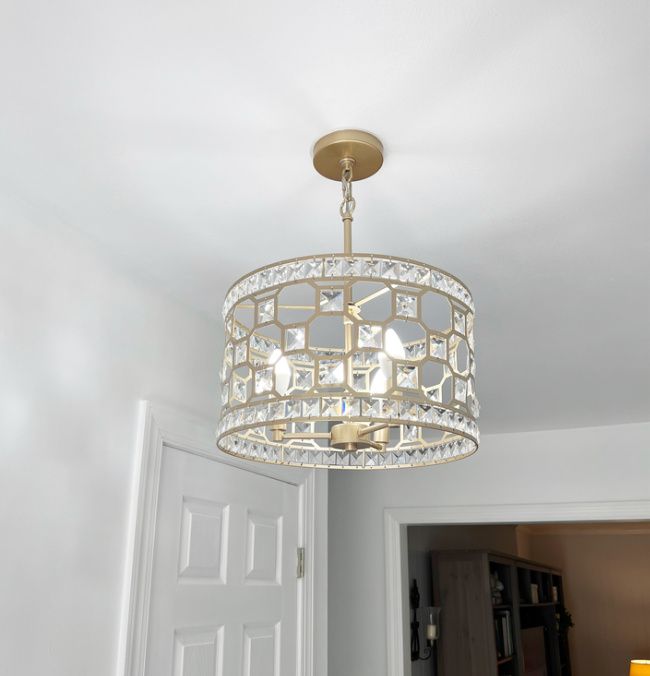
Thankfully, one of my sons was able to help me.
Even with his help my arms were shaking and hurting. That over head work is tough.
Once these daisy light fixtures were up, each of those daisy thingies had to be put on individually.
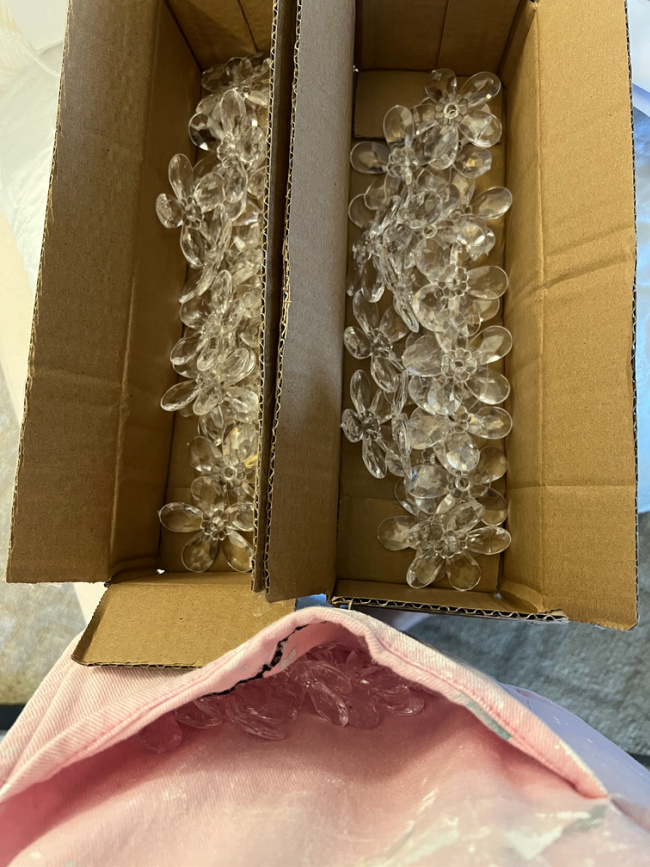
They sure are pretty, but man oh man is that hard work!
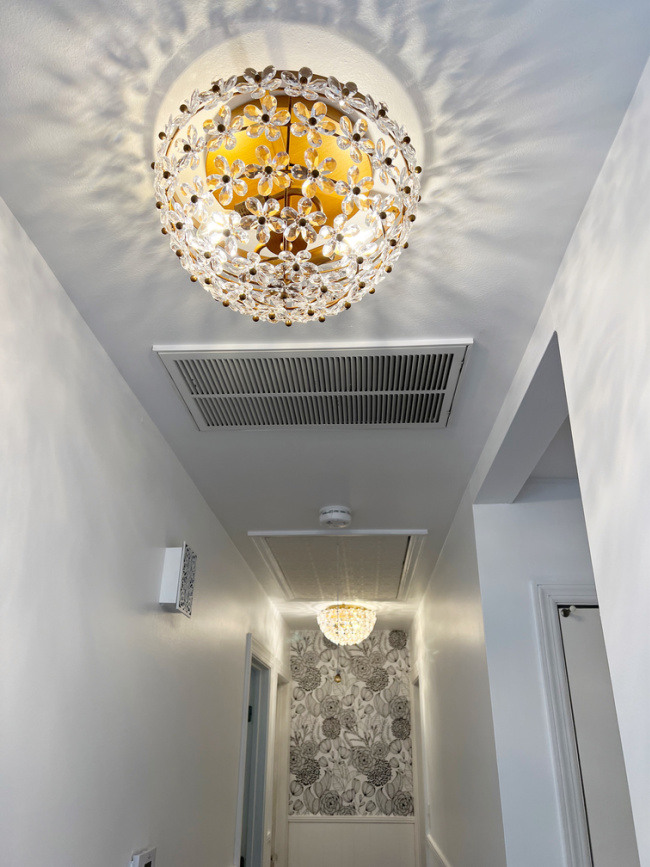
The foyer light took us three tries to get it right! I guess that’s why it costs so much to have them installed.
Oh! I almost forgot one of the easiest updates!
The door bell cover. This is the ugly before.
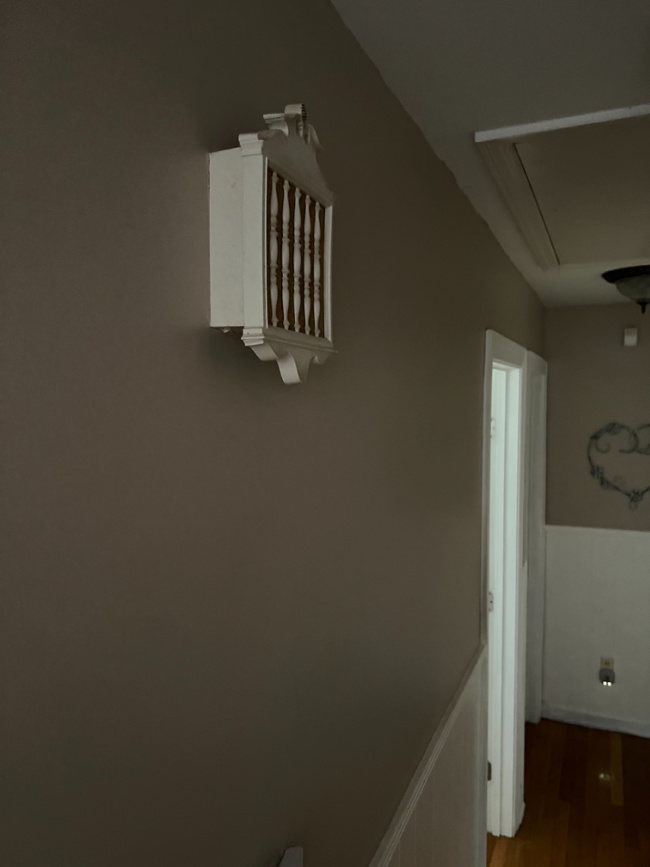
The doorbell cover I ordered was too small, so I just cut the front panel off and used velcro to stick it on.
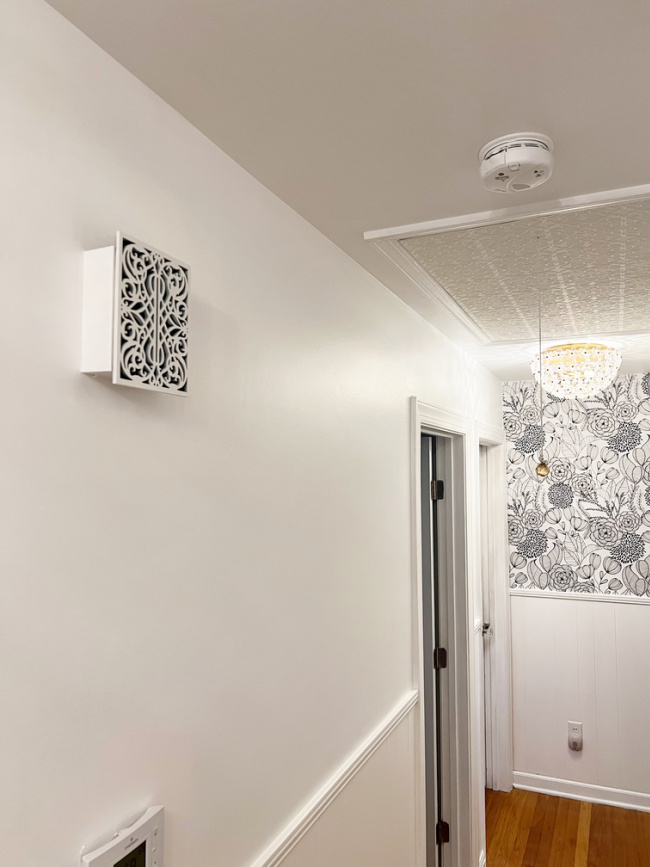
It’s the little things!
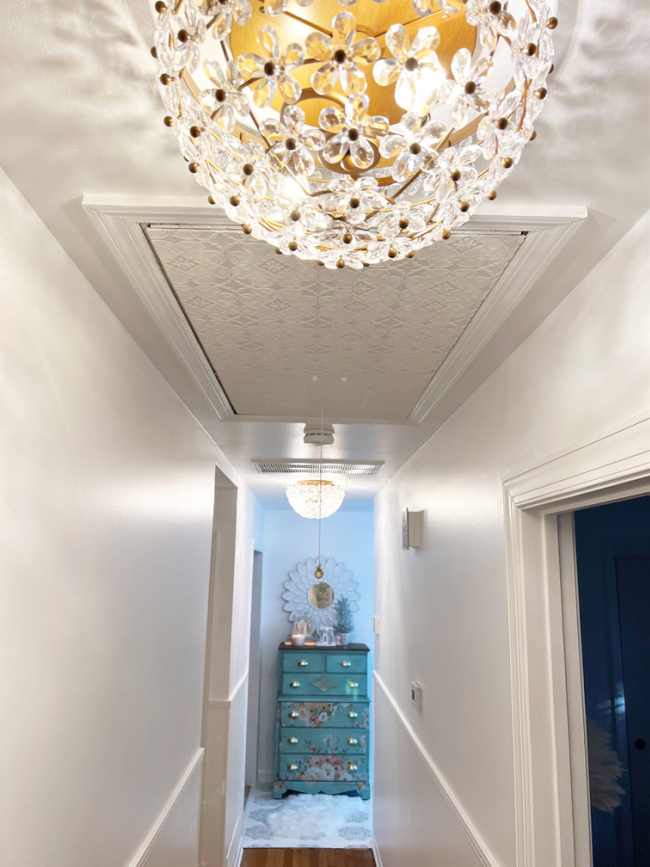
While painting the hallway ceiling and the attic access door, I came up with a brilliant idea!
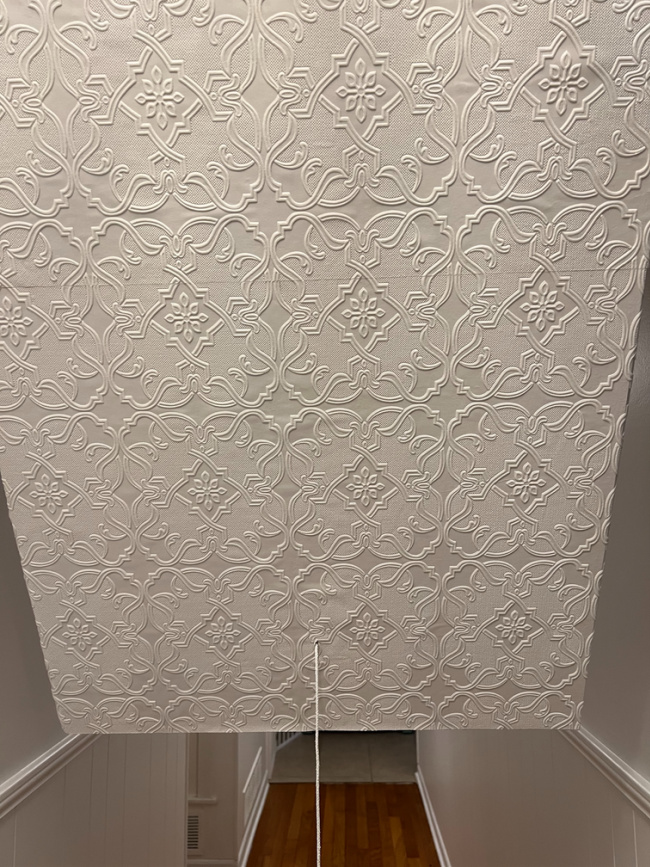
Wallpaper the attic access door with the same wallpaper that was used on the Guest Room closet door!
The weird thing was, there was just the right amount of paper left to do that little door. It was meant to be!
The idea came to me because I had recently watched At Home With Ashley wallpaper her bathroom ceiling.
Using Frog Tape to hold it to make sure there was enough and then used more tape to hold it until the wallpaper paste dried.
That little tip came from watching Ashley.
Added a new smoke and carbon monoxide detector too
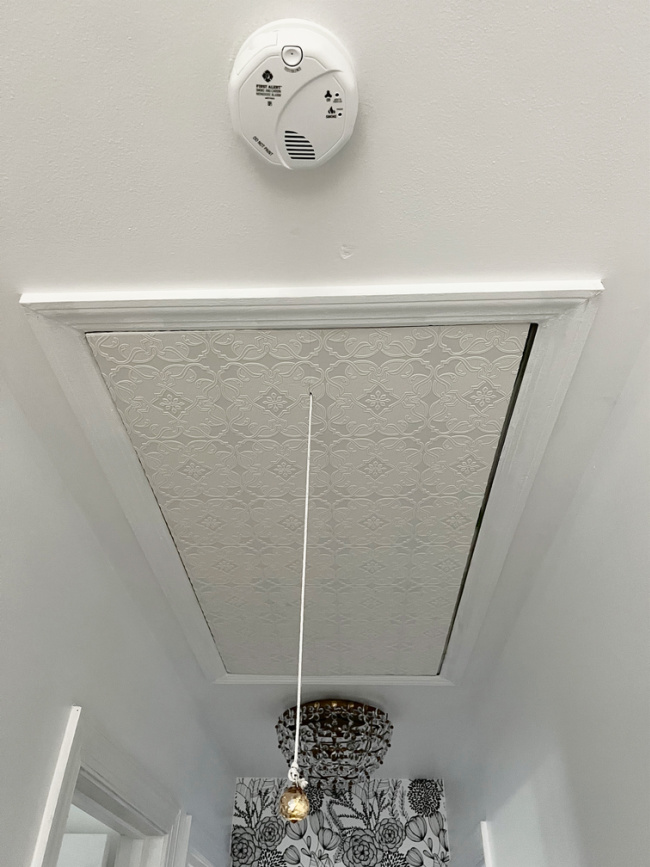
After doing this little tiny door, there is NO WAY I could do a whole ceiling!
She did that whole ceiling by herself too!
At first I was going to paint the wall at the end of the hallway black, but then I saw this wallpaper!
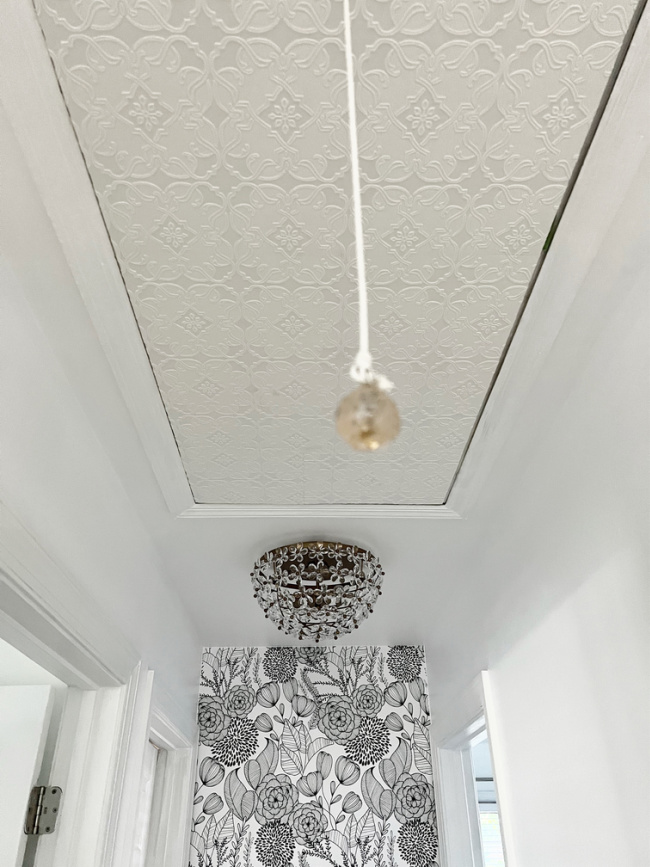
It is peel and stick and super easy.
Now, this next project almost did me in!
The first step, painting the foyer tile was quick and easy enough.
I painted the edges and grout first and then rolled the rest
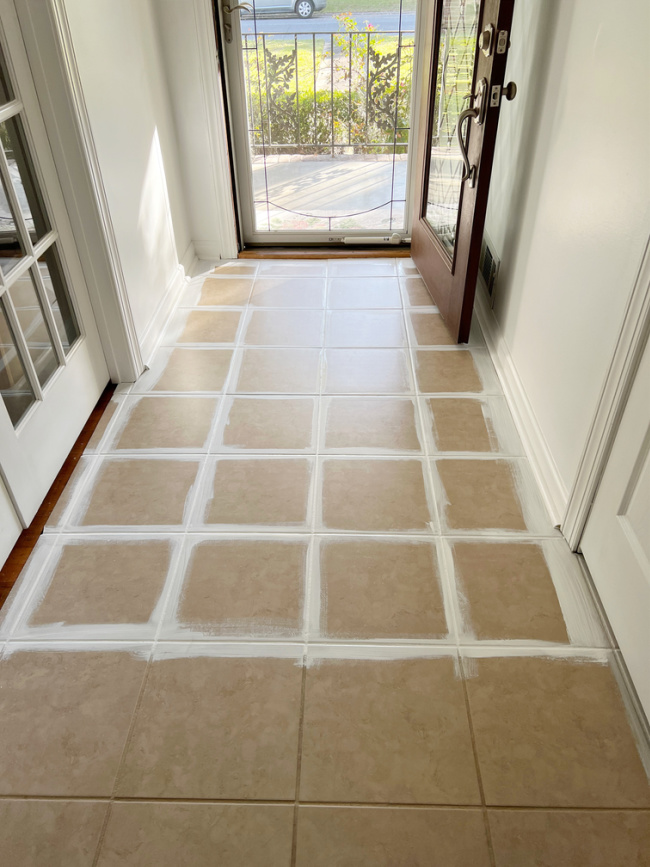
Already looks better
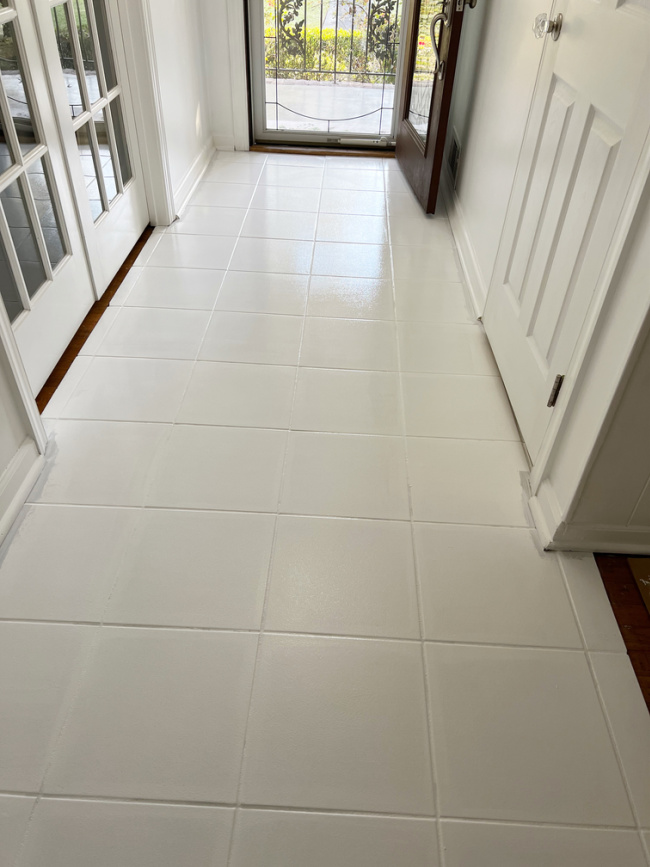
The stencil work is what got me!
After stenciling the first couple of tiles, I was immediately thinking, this looks terrible!
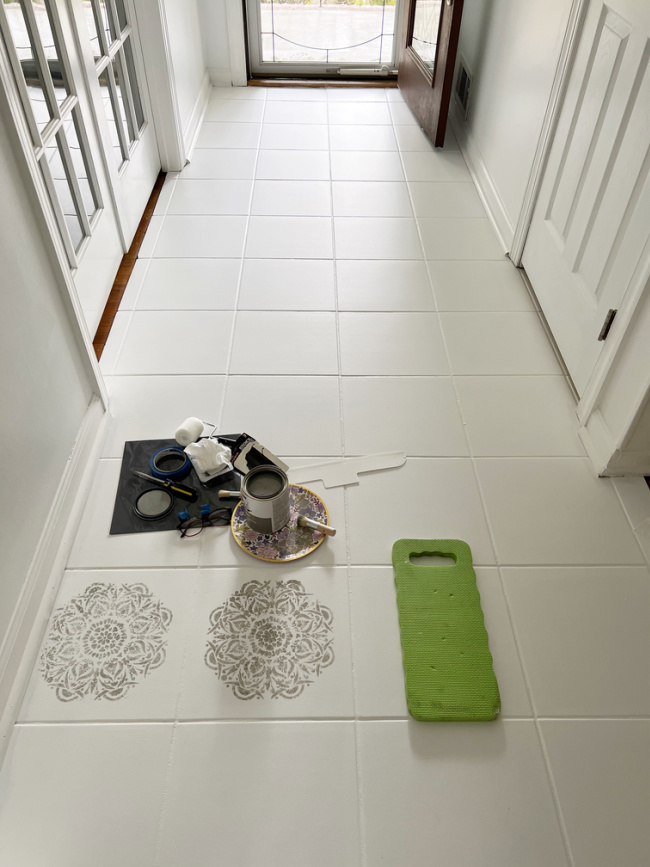
Doubt always creeps in. Does that happen to you too?
How much would it really cost to replace this tile instead?!
Too late for that. Had to keep going.
The more tiles I stenciled, the better I liked it.
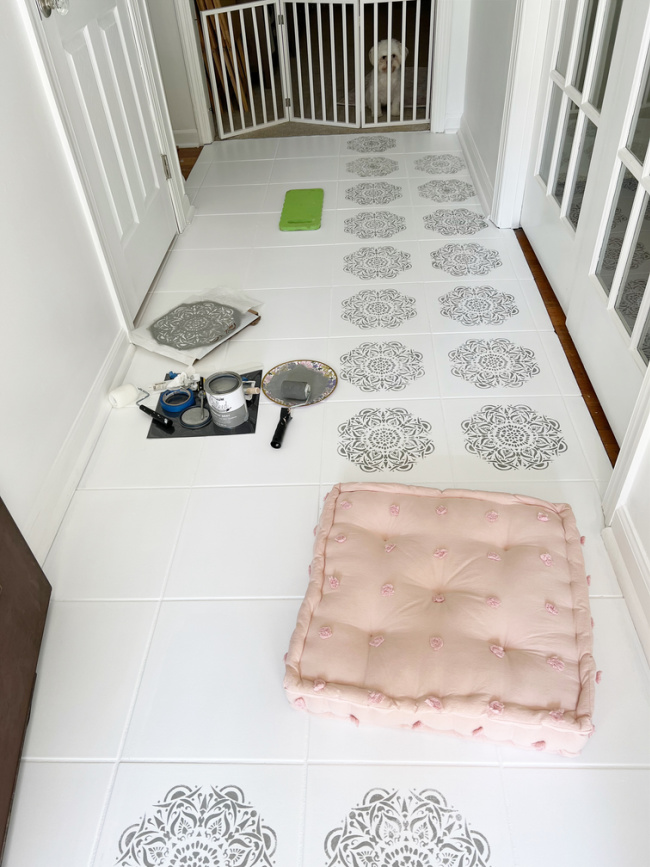
Take my advice and get knee pads or something to kneel on.
Sitting on this floor pillow as long as I could and just kind of scooting around helped a lot.
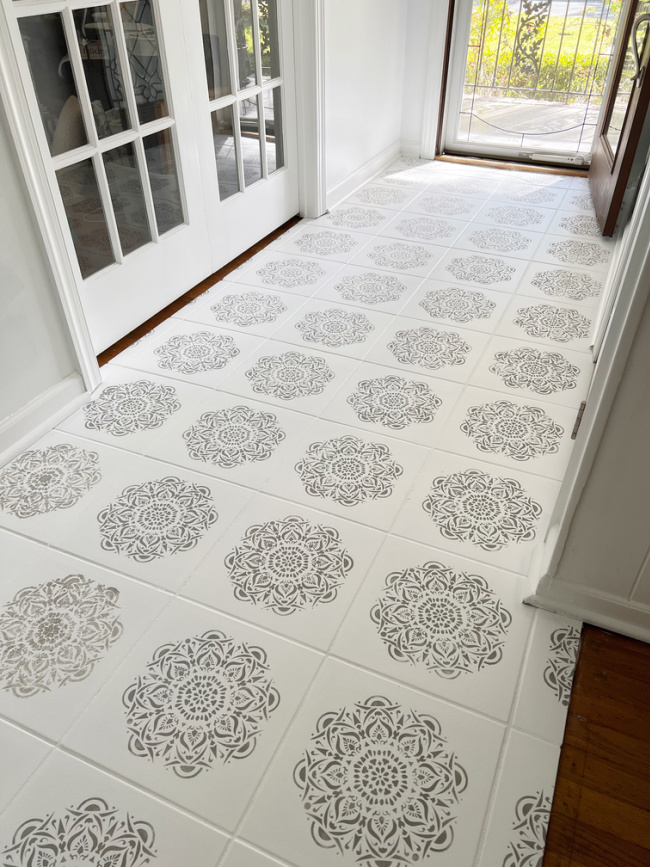
Sealed the stenciled tiles with two coats of polyurethane a few hours apart and just stood back and admired the new floor.
It sure did make the entry brighter! Mission accomplished!
The floor had time to dry while I went to work for a couple of days.
Now, it was time to bring the pretty things in.
My favorite part!
I usually just drag furniture around, but knew that would not work on this newly painted tile.
My son to the rescue again!
Once the drawers were out and he helped me lift the dresser up and put it in its place.
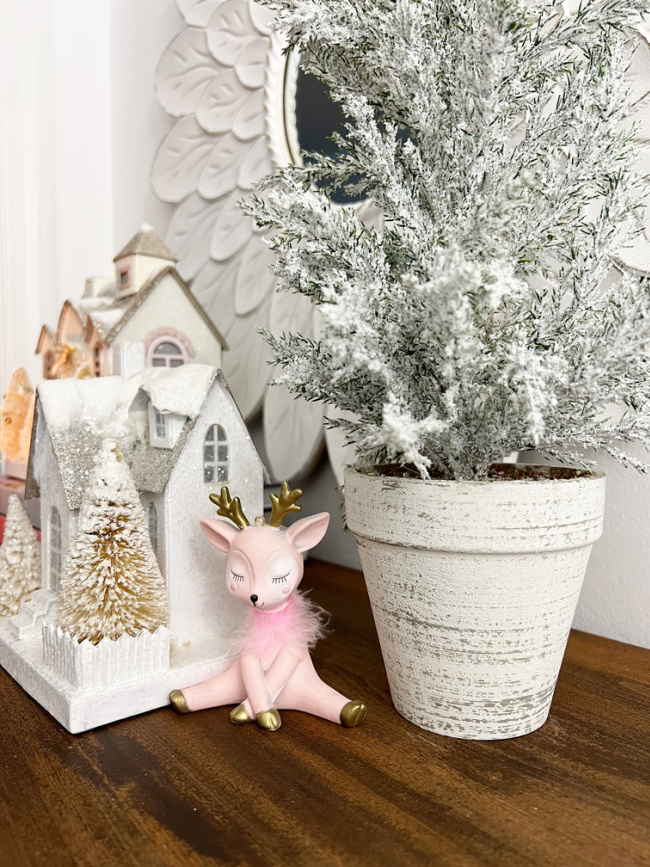
Then I decorated the top with a touch of Christmas.
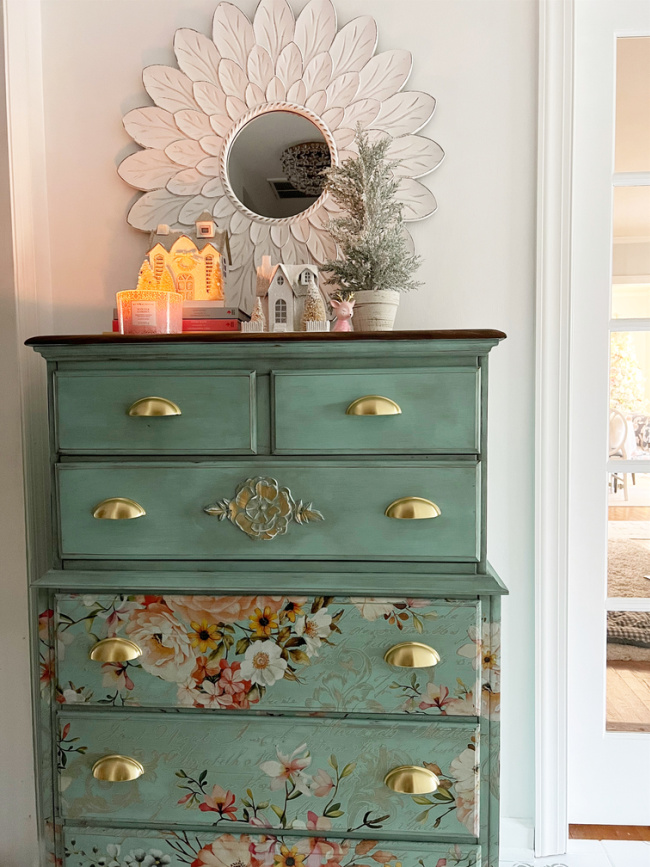
When I rolled out the rug and I realized it has the same pattern as the stencil. That wasn’t planned, but sure is pretty.
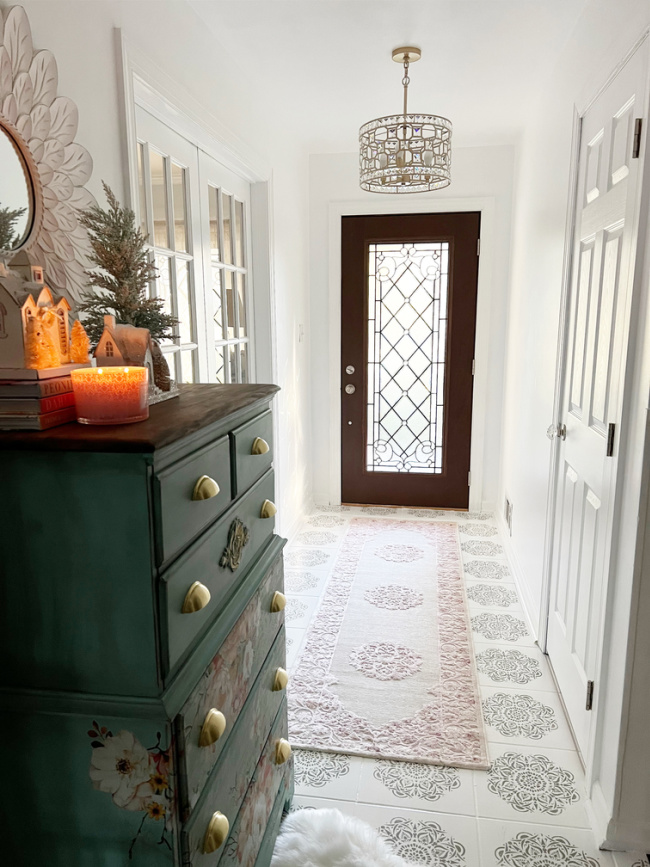
I couldn’t decide which rug to use and ended up getting both of these.
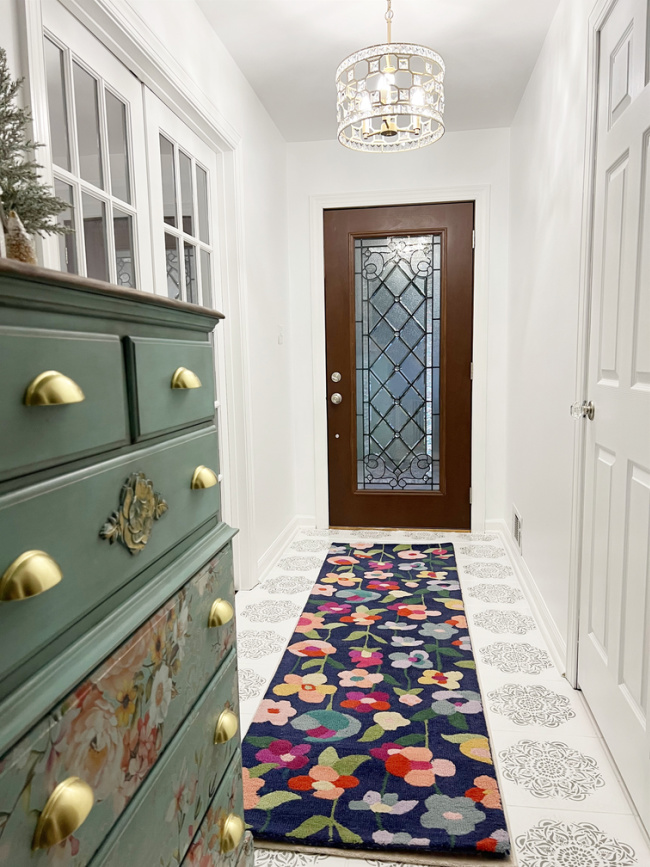
Which one do you like better?
It looks like Dolli likes this one the best!
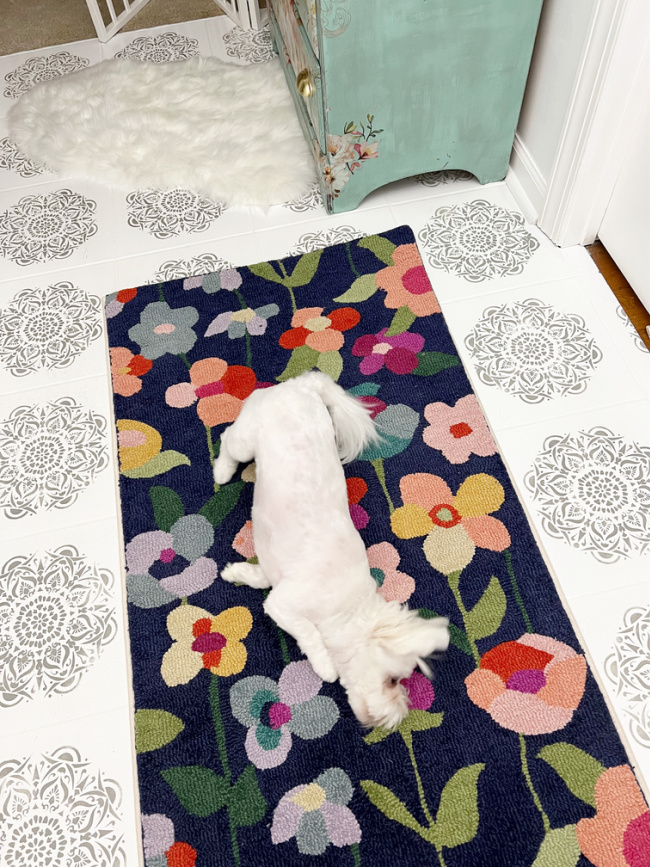
She can’t decide….
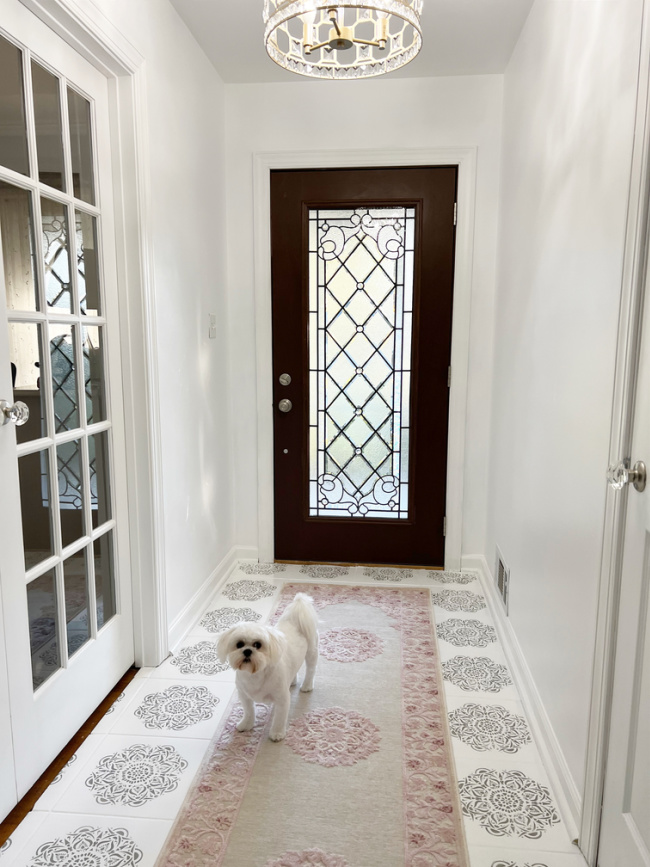
The floor in front of the dresser looked a little plain.
Fuzzy rug from the Guest Room to the rescue!
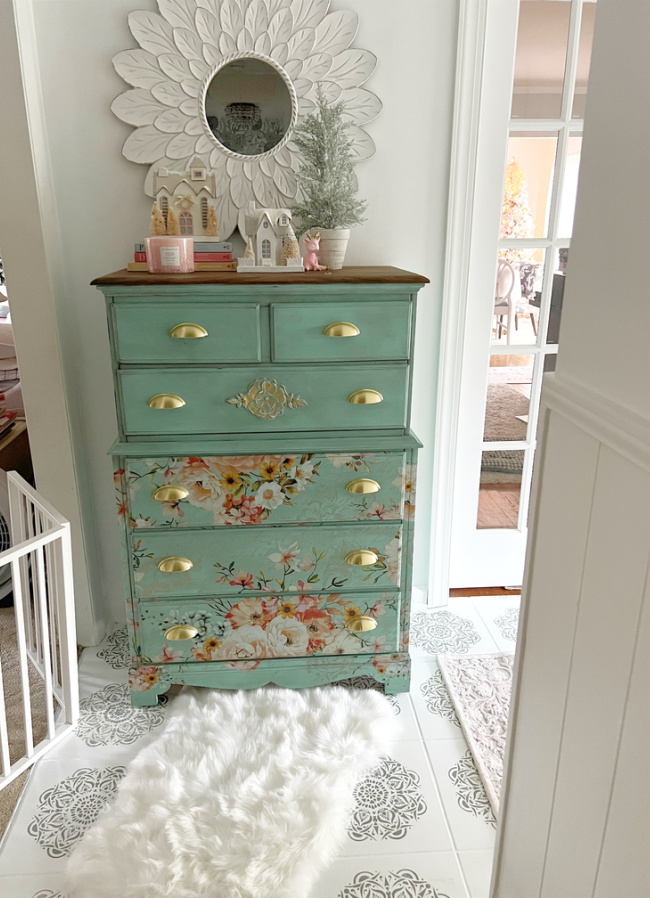
One of my favorite views!
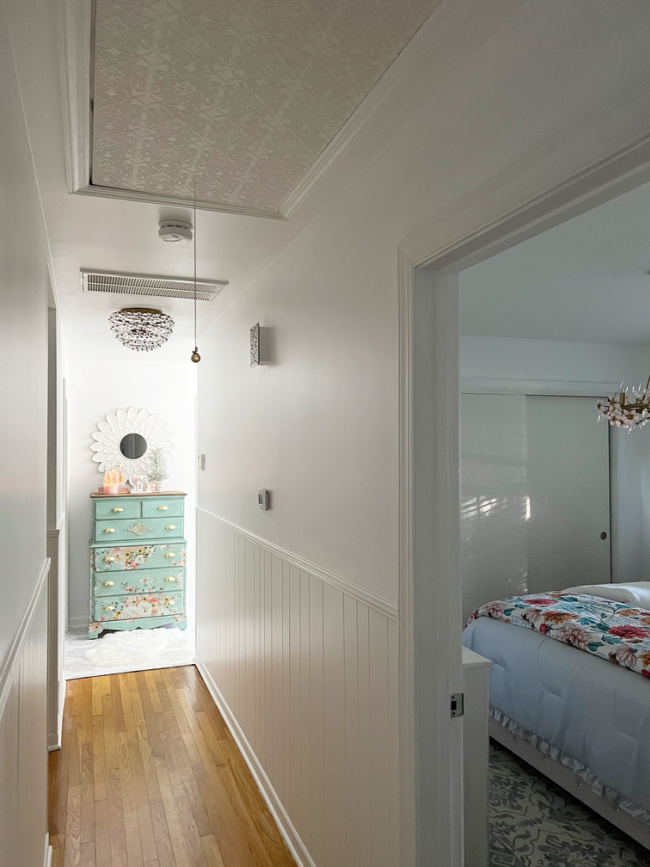
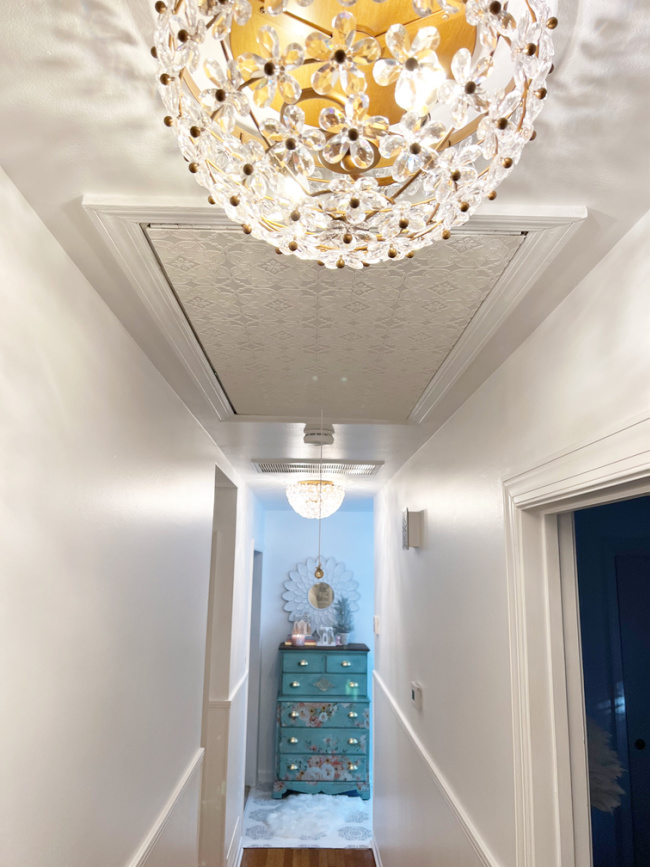
Now, I just need to make the decision for what will go on the walls.
I’ll come back and update this post when I figure that out.
Really don’t want to put any nails in the fresh walls. 😂
Do yourself a huge favor and visit the amazing One Room Challenge Featured Designers and Guest Designers. There is wonderful inspiration and so many creative designers.
You may also see some of my past One Room Challenges
- Elegant Guest Room Makeover
- Elegant Master Bedroom Makeover
- Master Bathroom Makeover
- Garage Laundry Room Makeover
Which one is your favorite?
Shop The Post



Donna says
I love how you completely transformed this space! The stencil on the floor is amazing! Blessings, Donna
Linda says
Thank you so much Donna!
Have a lovely night!
Linda